Creative Diy Mounting Bracket on Back of Wall Art
Written by Amy Ehmann of Pattern Lotus
What exercise you lot see in the photo below? Really, the better question is what don't you see?! At first glance, you lot're looking at a dresser and a lovely pair of framed art pieces. But (no joke!) behind those prints is our 46″ flat-screen TV! I can hardly believe it myself. Keep reading because I'g going to show yous how to make these framed-art sliders to hibernate that unsightly screen without breaking a sweat or your budget. Believe information technology!


Click through for the stride-past-pace instructions…

Supplies:
• 24″ drawer slides ($20)
• Wood ($ii)
• Screws ($two unless you go a box)
• Framed fine art (I chose "Grade" by Lauren Packard paired with "Lush Composition" in Wedgewood Blue past Melanie Severin)
• Felt pads
Tools:
• Marking pencil
• Drill
• Screwdriver
• Level
• Measuring tape
• Stud finder
Steps:
i. Measure your TV, and so purchase two art pieces large enough to hide your Tv. Exist careful to consider the frame size when purchasing your art (Minted provides frame size information here). Initially, I was going to club xxx″ ten 30″ prints, but then realized that with the frames, the two pieces would take extended half-dozen″ past the dresser ends on both sides. It was either purchase a longer dresser or purchase a smaller size. I dear my dresser, then I sized downward to the 24″ x 24″ print size.
ii. Find the center of the studs on the wall backside the Television receiver and marker them with a pencil.
three. Measure and cut the wood to the length of the two drawer slides lined up stop to stop. I used 24-inch slides, and then I cut the forest to exist 48 inches. Alternatively, you lot can have your hardware shop cut the wood downwardly to size for you. The thickness of the wood will depend on how far your TV sticks out from the wall. I used 2″ x ii″ pino.

iv. Lengthwise, measure and marking the center of the wood plank. Next, higher up the Television set, marking where the center of the TV is on the wall. Line up the center of the forest and the center of the TV on the wall; transfer the marked locations of the stud centers onto the wood plank. Be certain to also marking the top and bottom of the woods plank, so you lot know which is which afterward when you mount it to the wall. I mention this considering I attached it upside-down the first fourth dimension—oops!
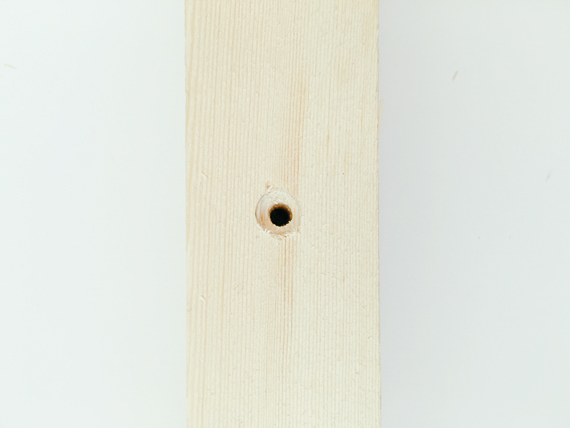
5. Pre-drill holes for the screws through the forest. Using a larger drill bit, make the top of the hole slightly larger so the screw will sit flush or slightly beneath the woods surface (this is to ensure the drawer slides prevarication flat against the wood when you lot attach them). Place wood plank where information technology should exist on the wall; make sure it'due south level. (If you don't accept a level, download the iHandy Level Free app on your phone.) Using the drill, marker the holes in the wall where your studs are by drilling through the pre-drilled holes you lot just made.

6. Remove the forest plank and so drill into the wall, going every bit deep as the length of the screws minus the thickness of the woods. Pre-drilling will make it easier to attach the plank to the wall when you're ready.

7. Separate the drawer-slide pieces past pushing the release lever. You'll be attaching the drawer piece to the art and the cabinet slice to the wood plank. Pay attention to how the pieces fit together and then y'all tin can position them correctly later on.

8. Conform the two cabinet-slide pieces on the forest plank; make sure both pieces slide outward and inward to meet in the center. Mark the holes for the screws with a pencil. Avert the pre-drilled holes.
9. Now you're ready to attach the wood plank to the wall. Using wood screws, secure the wood plank to the wall using the pre-drilled holes; be certain to check that information technology is level. Line up the first chiffonier-slide piece to the forest using the penciled hole marks you fabricated before. Using the screws provided with the drawer slides, attach information technology to the wood. Echo with other slider.

x. Advisedly attach the drawer-slide pieces to the top of the backside of the framed art along the wood frame. Make sure that the slide is pointing in the right directions.
![]()
11. Measure and cutting woods spacers for the bottom of the frame to rest on once they're are extended by the TV edges. Attach them next to the TV on both sides. I used Command Strips to attach them to the wall. Add a felt pad to the superlative of the spacer to protect the back of the frame as it glides.
12. The moment of truth is here! Reattach the drawer-slide pieces to the right sides by sliding the drawer piece into the cabinet piece while holding the art parallel to the wall. I fastened additional felt strips to the dorsum of the the art to preclude damage to the Goggle box as it slides.
If you want to take the project to the next level, you could paint the wood plank to lucifer your wall colour and add trim pieces to hide the side gaps. I'thousand going to save that for another day.
At that place you have information technology! This project should take a couple hours, equally long as you lot have everything yous need. Materials should be around $30 + the cost of framed fine art. In example y'all wanted to know, I used this in-wall recessed Tv set mount and I love it.
I'm over the moon almost how this turned out. There's something nigh having beautiful fine art in your home that makes you lot feel so fancy! I hope that you'll try this in your own home. Please feel gratis to enquire questions in the comments below.
More than Home Decor Ideas:
• Easy Fabric-Wallpapered Bookshelf
• How To: Decorate with Oversize Art
• Recreate This Room: Plant-Filled Reading Nook
More From Minted:
• Fine art Prints
• Foil-Pressed Fine art Gifts
• New year's day Photo Cards
• Design Lotus's Minted Shop
Source: https://www.minted.com/julep/2016/01/12/diy-framed-art-sliders-to-hide-your-tv/
0 Response to "Creative Diy Mounting Bracket on Back of Wall Art"
إرسال تعليق